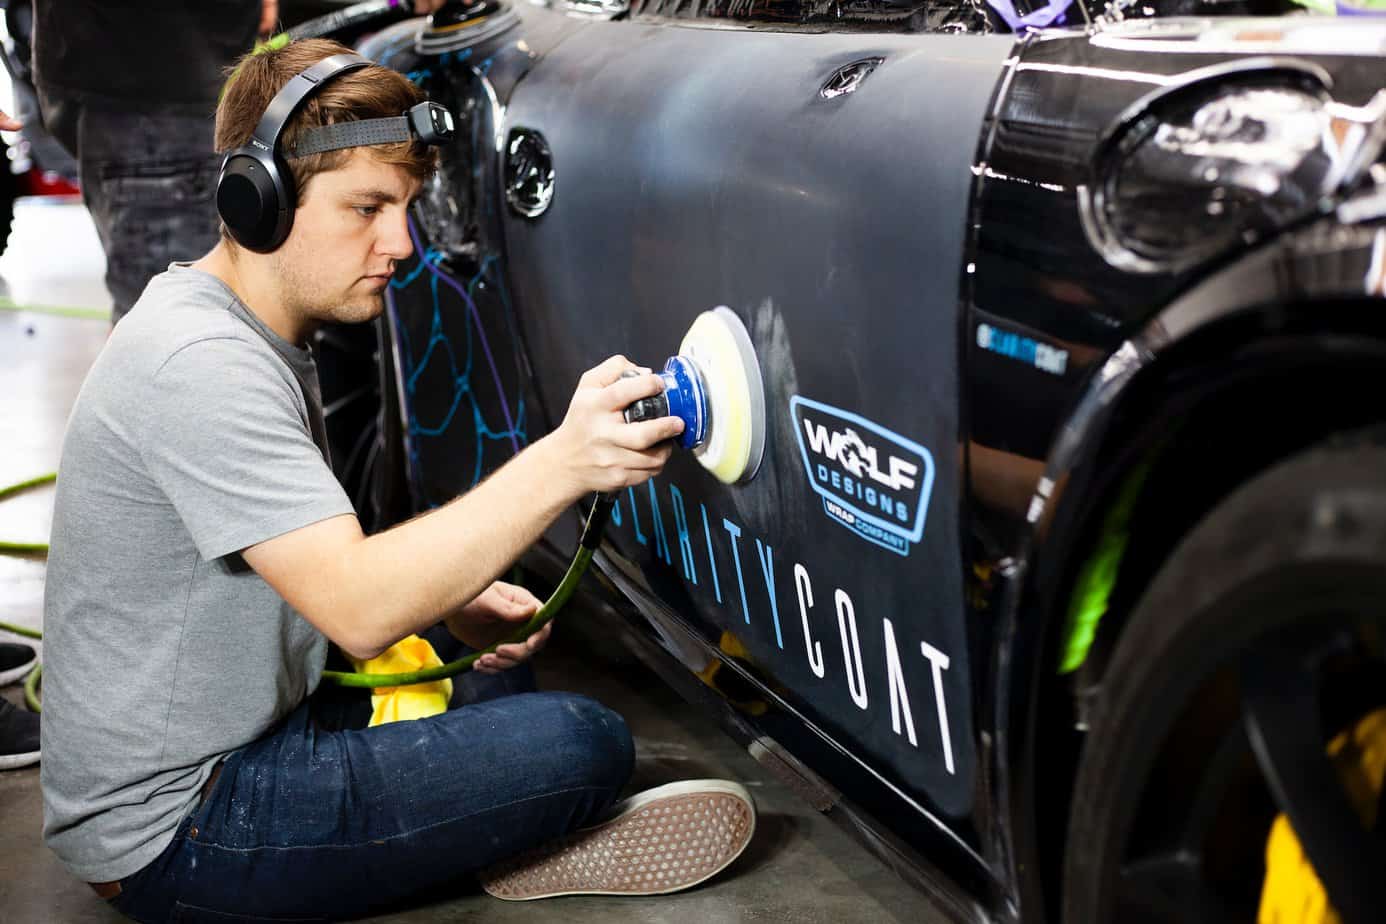
We’ve all been there. Accidents happen. Your car might get scratched against a painted surface (typically another car or a pole), leaving behind unsightly paint marks. Paint transfer is when paint from another object (like another car or a fence) is rubbed onto your car’s exterior. It often appears as a relatively thick layer of unmatching paint and is not only unsightly, but will also effect your vehicles value. In this article, we will discuss tips and tricks to safely remove paint transfer from your car.
Step 1: Assess the Damage
Let’s not get too ahead of ourselves. Before diving into the cleaning process, it’s important to first assess the damage. If the paint transfer is superficial (only on the clear coat), it will be much easier to remove compared to a scratch that goes beneath the clear coat into the paint or primer. If the damage is deep, you might need professional assistance from an auto body shop.
Step 2: Gather Your Supplies
For basic paint transfer removal, you will need:
- Soapy water or a car wash soap
- A microfiber or soft cloth
- A clay bar
- Car polish
- A soft sponge or foam applicator
- Rubbing compound
- Automotive wax
Step 3: Wash the Area
Begin by washing the affected area with soapy water or a car wash soap and a microfiber cloth. This will remove any dirt or debris, preventing further scratches during the paint transfer removal process.
Step 4: Use a Clay Bar
Next, slowly glide a clay bar across the paint transfer spot. The clay will pick up contaminants and help to lift the transferred paint from your car’s surface. This step may need to be repeated multiple times to ensure all paint is removed.
Step 5: Apply Rubbing Compound
If the paint transfer is still visible after using the clay bar, use a rubbing compound. Apply a small amount of rubbing compound to a soft sponge or foam applicator pad. Rub the compound onto the affected area in a circular motion, adding more as needed. Be cautious not to rub too hard to avoid damaging the car’s original paint.
Step 6: Polish the Area
Once the paint transfer is gone, use car polish to restore the shine to your car’s paint. Apply the polish in a circular motion using a clean, soft cloth. Work in small sections until the entire affected area is polished.
Step 7: Apply Automotive Wax
The final step is to apply automotive wax to the area. This will add a protective layer to your car’s paint, preventing future damage and maintaining the newly restored shine.
Tips for Preventing Further Damage:
- Use the Right Materials: Always use materials designed for automotive paint to avoid further damage to your car’s exterior. Avoid using harsh brushes, sponges, or cleaning agents.
- Be Gentle: When working on paint transfer removal, use gentle motions to avoid scratching the car’s original paint.
- Test on a Small Area: Before applying any product, test it on a small, inconspicuous area to ensure it does not damage the paint.
- Seek Professional Help: If you’re uncomfortable performing this task yourself, or if the paint transfer is extensive, do not hesitate to seek professional help.
Conclusion
Removing paint transfer is a tricky process, but with the right tools, products, and techniques, you can effectively eliminate them and restore your car’s original beauty. Follow these steps carefully, taking your time to ensure you don’t cause additional damage to your car’s paint in the process. And remember, when in doubt, it’s always best to consult a professional.
